How to create your first quiz
Create an event, choose a live format, add rounds, test both screens and publish with confidence.
1. Start an event
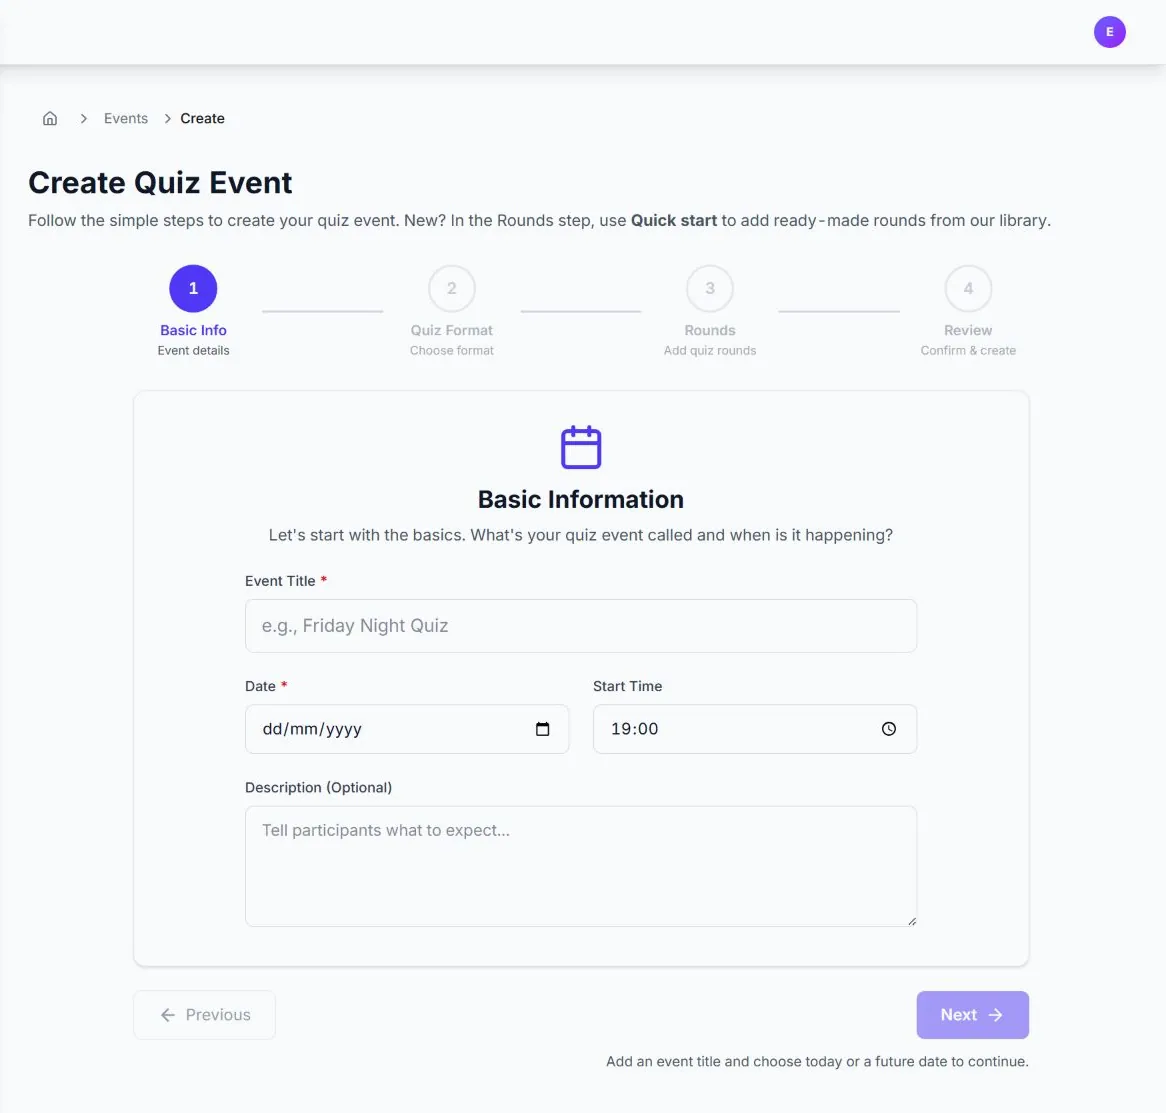
From the dashboard, choose Create Event. The builder has four steps: Basic Info, Quiz Format, Rounds and Review. Add a title and date; time and description are optional.
2. Choose how the room will play
Choose Presenter only for paper answers, Teams on phones for browser-based team answers, or Fastest Finger First when response speed should affect scores. See the format guide for a side-by-side explanation.
3. Add rounds
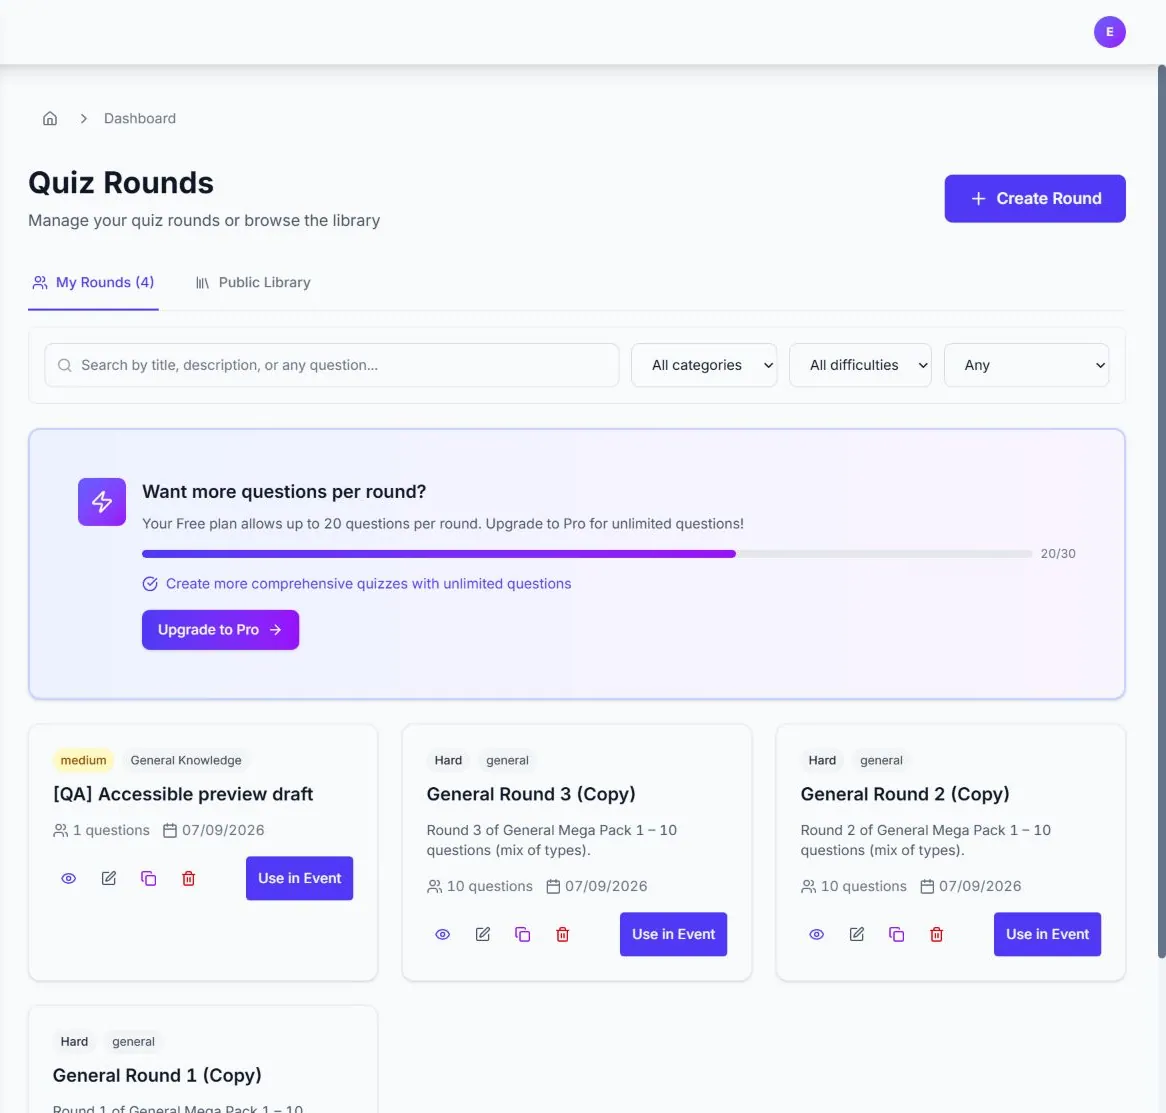
Create a round from scratch or use a round from the quiz library. Quick start can copy library rounds into the event, subject to your plan limits. In a round you can mix short text, multiple choice, true/false, multiple select, numeric, ordering, matching and buzzer questions.
4. Write and check every question
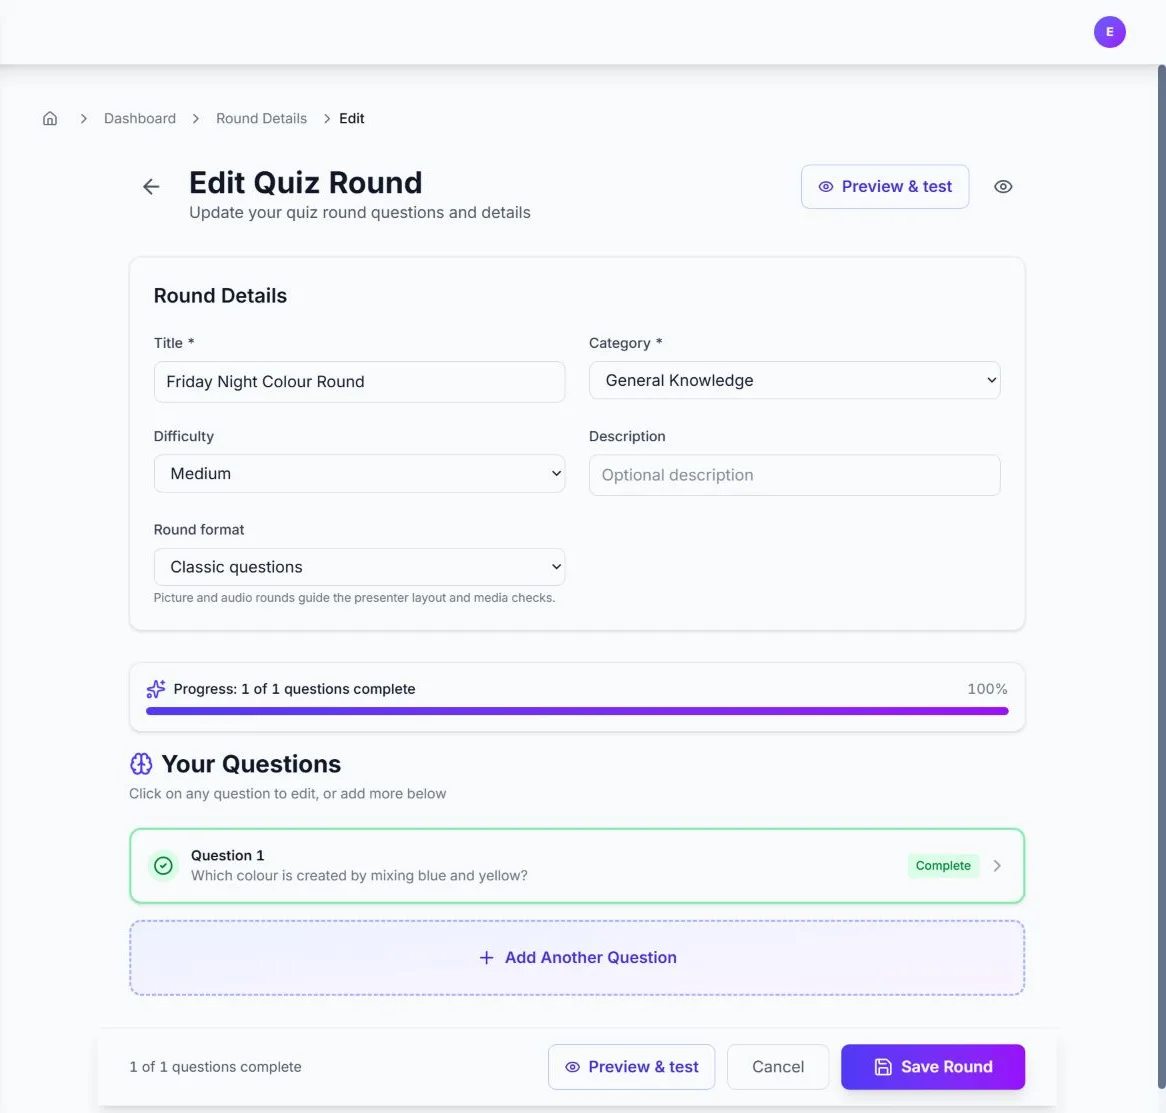
Add the prompt, points and correct answer. Depending on the question type, you can add answer options, accepted aliases, numeric tolerance, ordered items or matching pairs. Explanations are optional and appear when the answer is revealed.
5. Preview presenter and player views
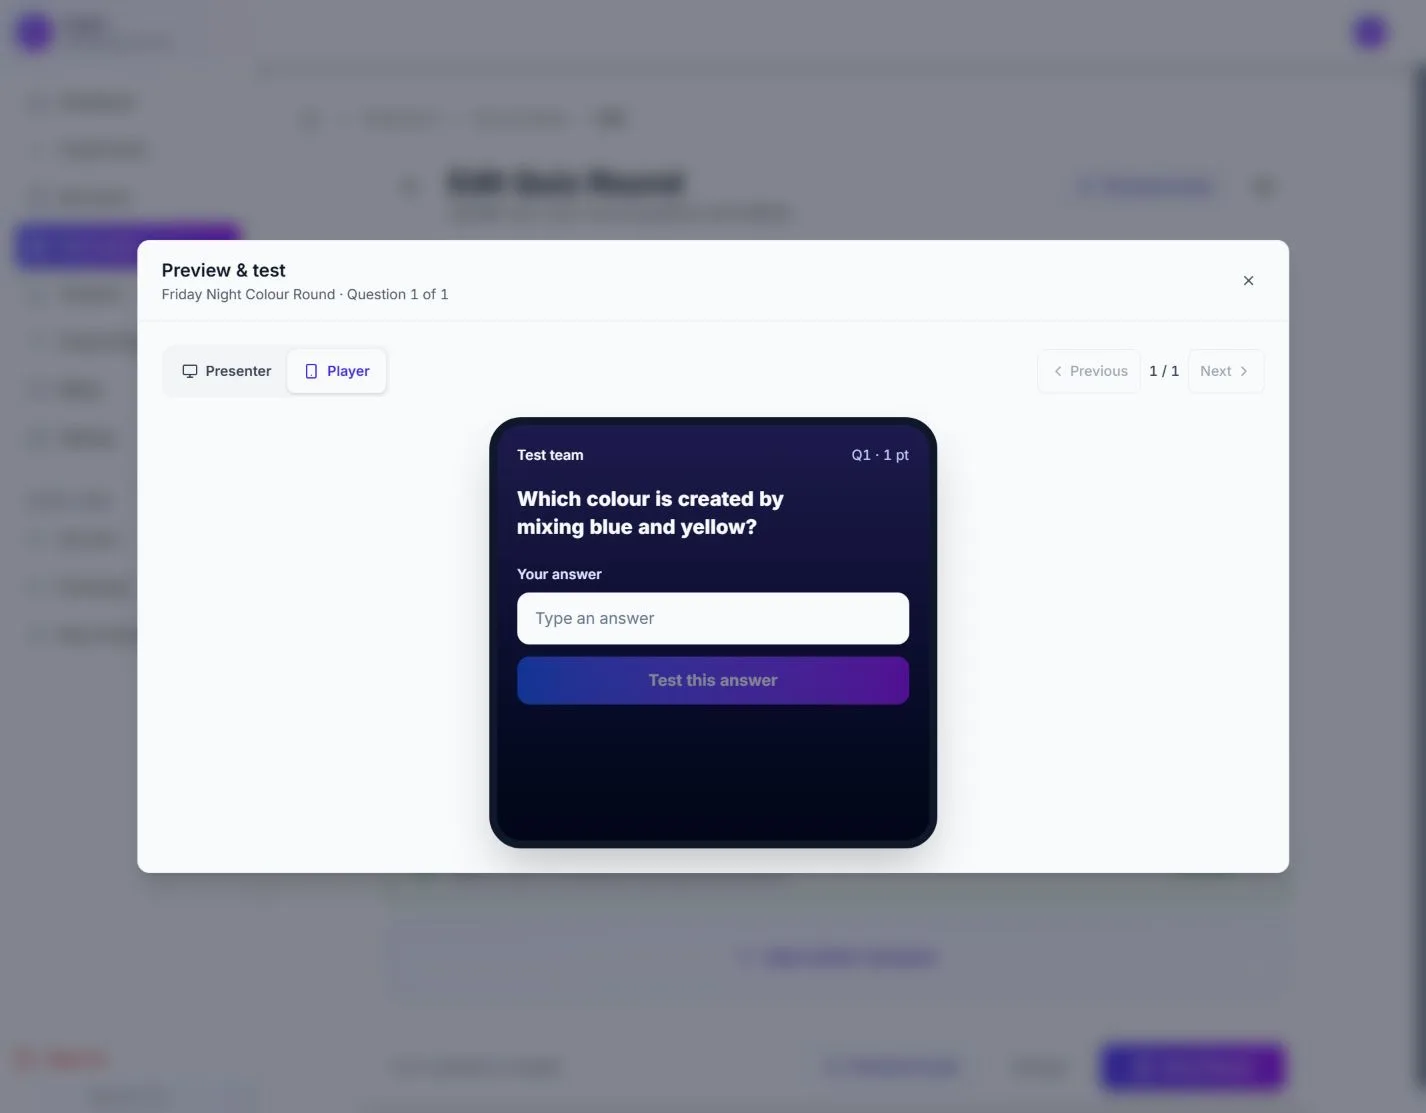
Select Preview & test in the round editor. Switch between Presenter and Player to check readability, answer controls and explanations. Preview submissions are temporary and do not join a live audience or save scores.
6. Review, publish and share
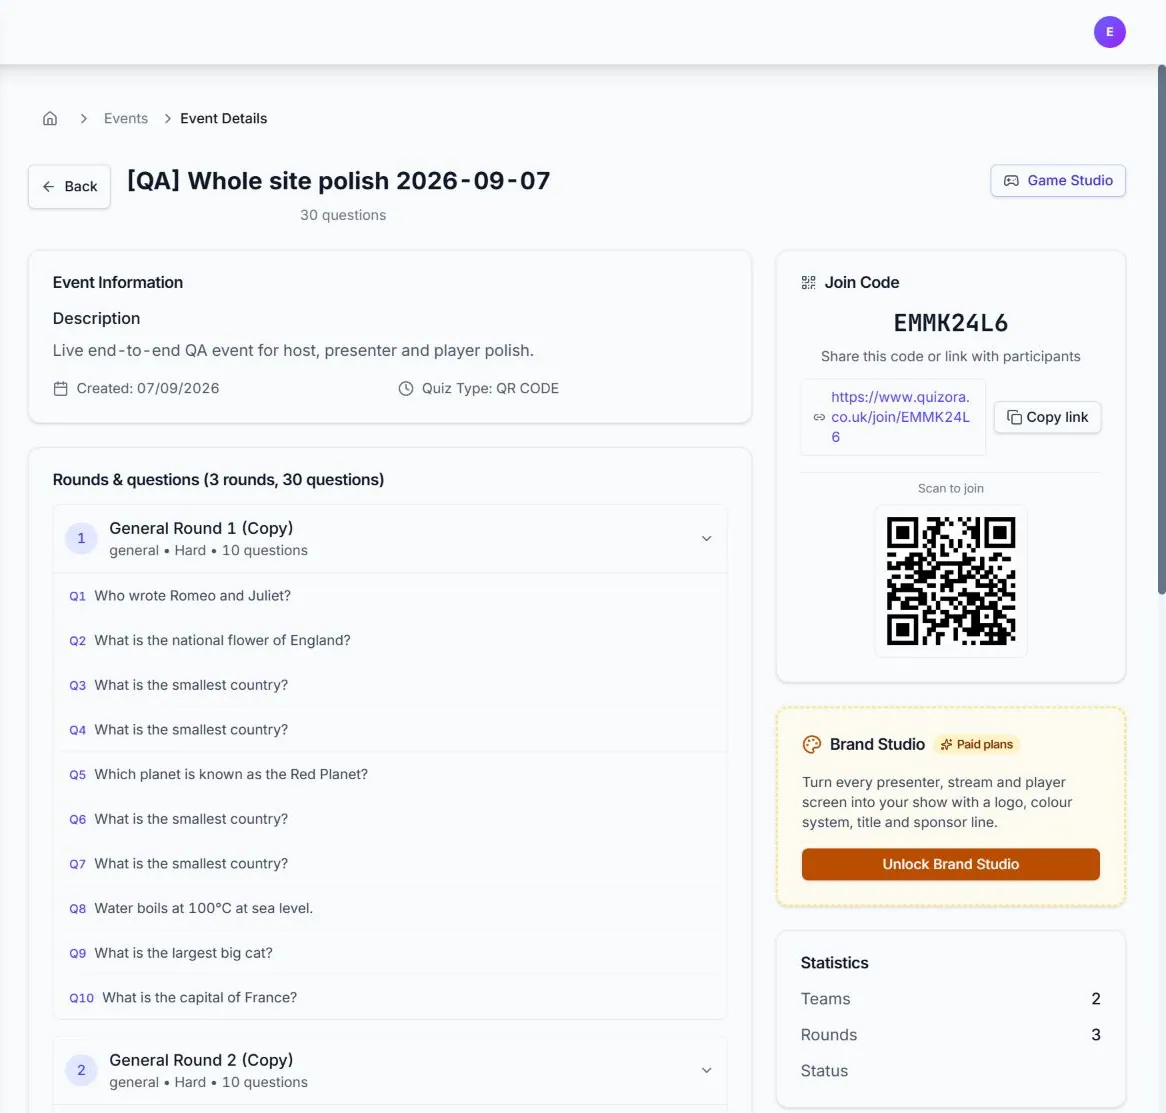
Return to the event, confirm the round order and publish it. The event management page provides the join code, direct link and QR code. Open the host screen on your control device and a presenter view on the display or streaming computer.
Before the audience arrives
- Run the whole quiz once with at least two test players.
- Check venue Wi-Fi, projector or capture resolution, audio and power.
- Keep the host screen private; share only the join link or code.
- Open the presenter screen before players join and confirm it says connected.